Tuesday, August 28, 2012

How to Watermarble!

Hey Guys! So from now on I think I'm going to try and post a tutorial every Tuesday. I'll call it... Tutorial Tuesday!! haha but anyways I'm going to show you how to watermarble. It's super easy and if you don't get it on the first try don't worry! This is one of those designs the you HAVE to practice on to get really good.
I used:
 -Plastic cup filled with filtered water from the fridge
 -Scotch Tape
 -Toothpicks
 -L.A Colors White for a base coat
 -Wet n Wild - Eggplant Frost
 -Sinful Colors - Innocent
 -China Glaze - Splish Splash
First, prep your nails by taping around your cuticle and sides of your nails for easier clean up. Also, do a white base coat to make the colors pop out more. I just did one coat since the white doesn't ever show. If you're using silver in your design it might make it easier for the base coat to be silver.
Have all of your nail polish open and ready. Try to pick nail polish that drips easily off the brush. Now in any order drip the polish colors one by one into the cup. They should spread out and start to look like a target. You can put as many drops of polish in as you want. I did two of every color except the blue. Then use a tooth pick and gently move the polish around to make a design. When you find the design you like dip your nail right onto it.
Keeping the nail in the water use the tooth pick and get all the extra polish around the sides of the cup. Gently pull your finger out of the water. If you have any water drops on your nail take a corner of a paper towel and touch it to the water and it should soak it all up:). When it's dry take the tape off and clean up your nail with a Q-tip dipped in polish remover.
And here's what it looks like at the end!! I only did two and the rest of the nails with the same color, but you can do all of the nails too!

Tips:
-Try not to be straight under a fan (it dries the nail polish in the cup too fast)
-If the polish won't spread out do like 2 drops of polish in the cup, take a tooth pick and spread it all the way to the edges. Gently blow to dry it and remove all of the polish.If you have any questions comment below!!

      Bye!!!<3

Sunday, August 26, 2012

L.A Colors Swatch! (Treasure Island + Radiant)

Hey Guys!! So I got these two nail polishes from the Dollar Tree the other day and I wanted to show you how they looked! Just because they were from the dollar store doesn't mean their bad quality at all! I have a bunch and they work great. :)
(No Flash)
Ok, So here's the two colors I used. The sparkly one is called Treasure Island and the other is called Radiant.
(Flash)
You could see it better in this picture, but the blue doesn't exactly look like it really does.
This is how Radiant came out with two coats. The color is a little see through but it works great for layering sparkles over it.:)
The sparkles came out really nice and smooth and looked really good! I forgot to take a picture but I used my NYC Matte Topcoat and it looked so cool!
Here are some pictures of it with flash and no flash. I don't have the best camera so the pictures aren't that good, but I think it came out really great!

Sunday, August 19, 2012

Dream Catcher Nails!!

Hey guys! So this design is another one from Pinterest! There wasn't a tutorial, but I still figured it out:).

If you want to see the original picture go here - http://usegram.com/p/TUVWHzFkq2


I used:
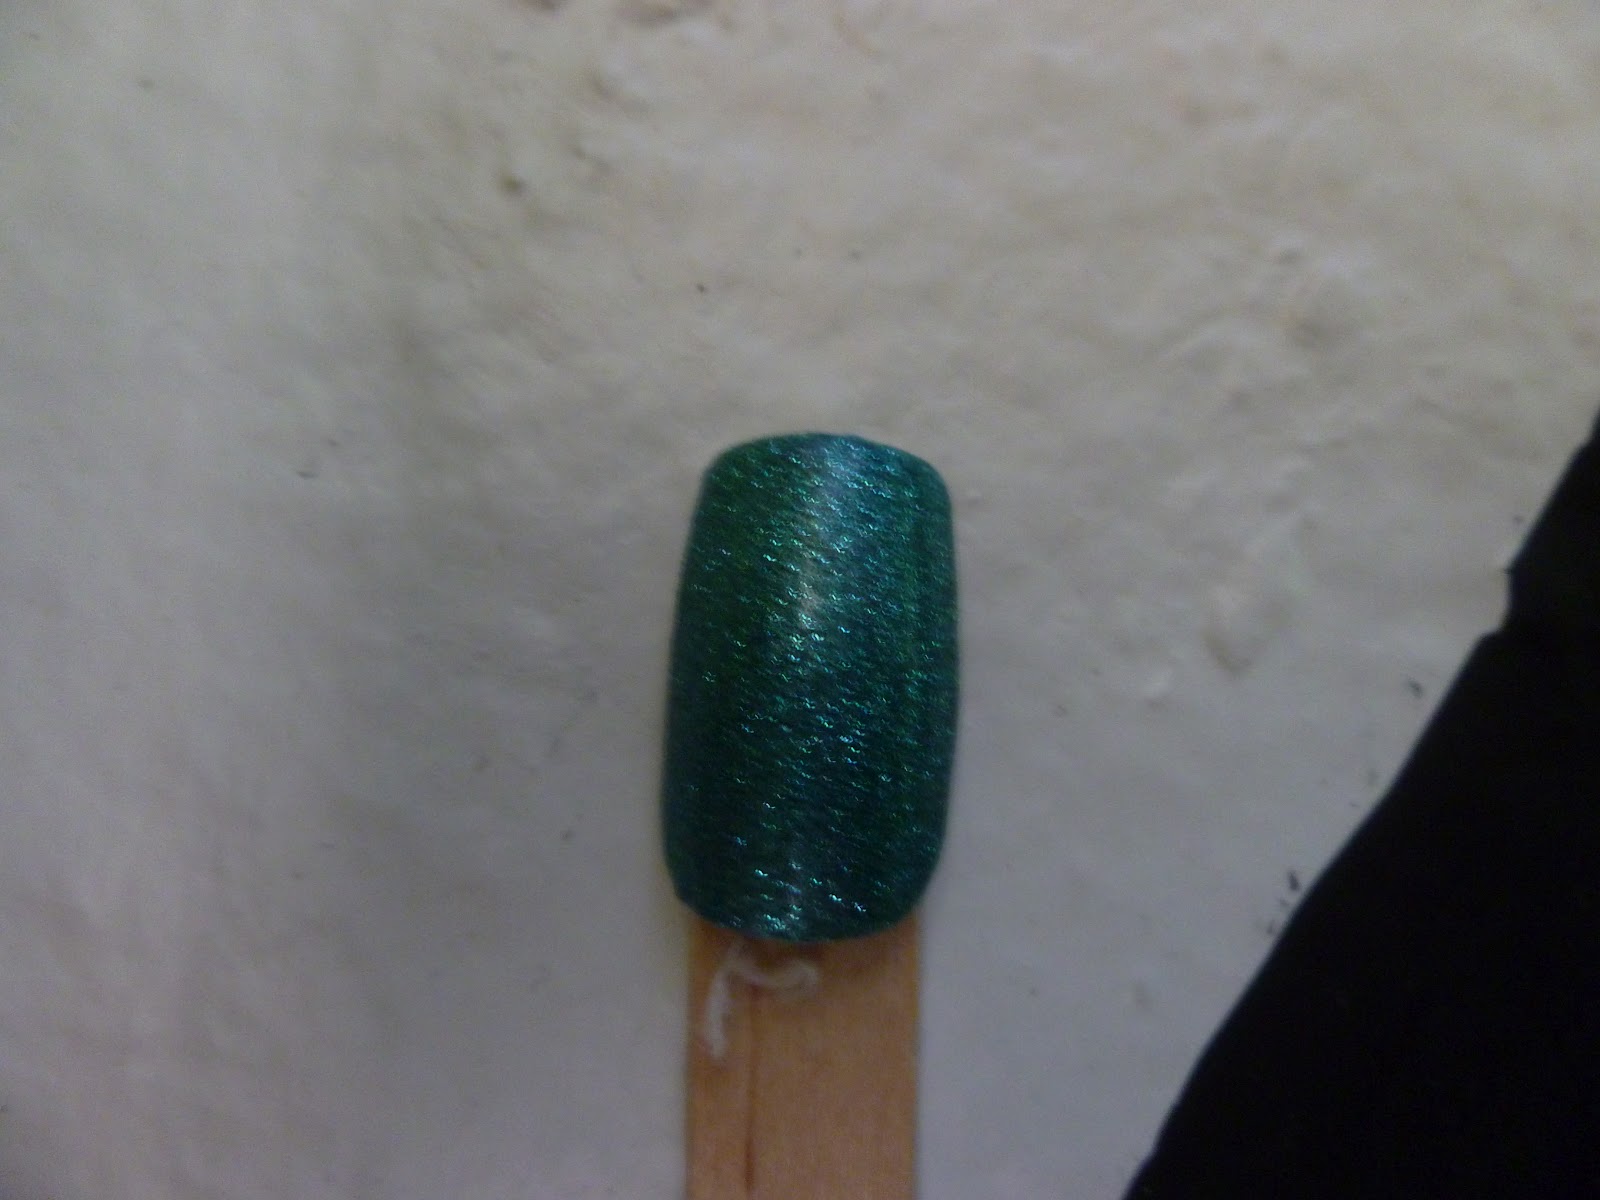
 -Claire's Cosmetics- Mean Green
 -Maybelline Color Show- Coral Crush
 -LA Colors White Striper
 -Maybelline Express Finish- Black
 -Dotting Tool
 -LA Colors Black Striper (not pictured)
 -Gold Sparkles (also not pictured)
Start off by painting all four of your fingers a turquoise/light blue color and your thumb coral or light pink. If you're using the Claire's "mean green" it;s easier if you put a thin white coat and then put two coats of the color.
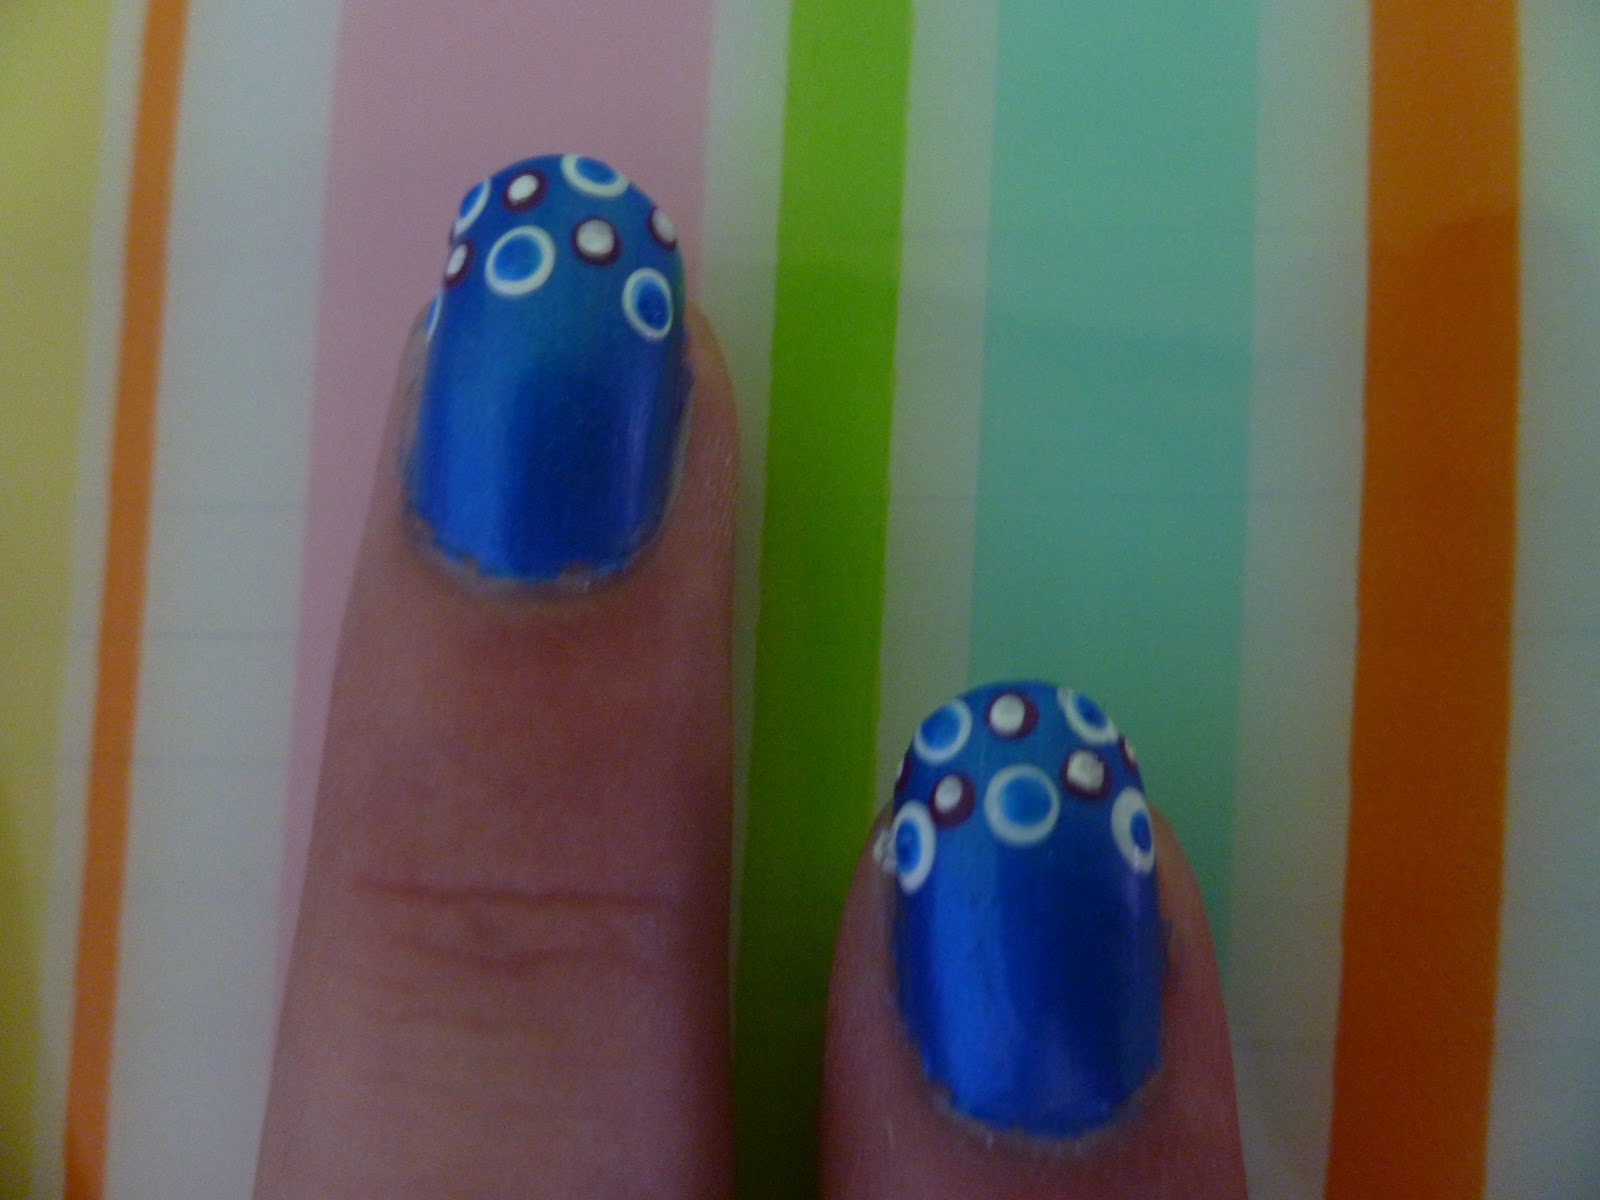
Sorry it's a little blurry
On your index finger make a circle, but don't close it all the way. Make sure the open end is facing your middle finger.
Ok, it's a little hard to explain, but make a diamond using your white striper and put more lines in between the points on the diamond? Confusing I know :/ Use your dotting tool to put a coral dot in the middle of the diamond.
On your middle finger make a full black circle. Try to line in up with the first circle.
In the middle of the black circle make a smaller, coral circle with white stripes all around them. On the bottom of the circle do 4 black lines and dots.
On your ring finger make 2 black lines all the way down your nail making sure they line up with the 2 outside lines on your middle finger. On the smaller 2 lines do a coral dot and white feathers.
And lastly, on your pinky do 2 more bigger white feathers somewhat in line with the long black lines.
On your thumb write out "Dream", but if that's too hard you could always just keep it coral. I also added these semi-big pieces of glitter that I just got from the Dollar Store yesterday:)
And here's what the dream catcher looks like all done!! I like this one!!

Any ideas? Comment Below!

Bye Guys!!!<3

Friday, August 17, 2012

Zebra + Cheetah Manicure

Hey Guys! So I found this nail design on Pinterest and when I clicked on the picture there was a tutorial, but it was a stamp and since I don't have any of those looked at the picture and figured out how to do it easily by hand!But if you have the stamps then  you could go to Google and type in Enamel Girl and find it on there:).

I used:

 -NYC French White Tip
 -Milani Diamond Dazzle
 -Maybelline Express Finish Black (sorry about the pink on the bottle)
 -Pure Ice Jaguar
 -Small Dotting Tool
 -Make-up Sponge
 -Thin brush
Start off by painting your whole nail white. I was using a fake nail for this cause I did it earlier in the week.
With the gold, paint a little section on the make-up sponge and dab it on the tip of your nail.
You might need to reapply the gold a couple times to get the color to pop out enough if you're using the same gold I am.
Then use the sparkly one and dab it on the bottom. I know the sparkles look all chunky but they really weren't haha :)
To use dotters or different brushes I usually take a sticky note, put a piece of tape on and drop a piece of nail polish on.
Using the brush dipped in black polish paint the zebra stripes. Go lightly at first and for the thicker sections push down a little harder.
With the dotter make the cheetah print. Don't drag the dotting tool on the nail just do some small dots connecting them. ( It's hard to explain that part)

When you're done put a top coat on to make them all shiny and protect the design!

Comment Below If You Have Any Ideas On A Design I Should Try!!
Bye!!!<3


Tuesday, August 14, 2012

Taking Care Of Your Nails!

Hey guys! I just wanted to post a little something on how I keep my nails looking good! :) You don't have to listen to any of this cause everyones nails are different:).

I usually do this every weekend when I take off my nail polish and have time sooo.....
  • After I take off my nail polish I put lotion on my hands(it's not any special type of lotion) 
  • Then I put cuticle cream on and massage my fingers to get them softer so I can push them back with a cuticle pusher
  • After all of the lotion I wash my hands to get the nails clean and ready for more nail polish:). The lotion has already soaked into your hands so it's OK to wash them. If you're to scared of your hands drying out just swipe a little polish remover over your nail to get rid of and lotion and oils.
  • If I need to I file and cut them. I prefer rounded tips more then square so I file off any sharp edges. But make sure that your nails are completely dry because when their wet their weaker so the filing won't work as well.
  • I don't usually buff my nails because,well, I've never done it before, I don't have a buffer, and I barely have any ridges in my nails if any.
  • Now I just started to take biotin pills so I haven't seen any difference yet, but when I do I'll tell ya!
  • Also! If your nails are weak, won't grow, or anything else I bet there are lots of lotions or polishes to help that! 
Comment below on what you do to keep your nails healthy!!!
               Bye Guys!!!!<3

Monday, August 13, 2012

Keep Polish Looking Fresh!

Hey guys! Has your nail polish ever chipped off a couple days after you've painted them and you're either forced to redo that whole nail or change your whole design? Well, here's some tips to help prevent that!

  1. Paint Thin Layers: Even if you have to do more layers to get the color you're looking for, it's much better than doing a big, huge glob and denting it since it takes so long to dry.
  2. Wrap The Nails: Paint them how you usually do, but after take the brush and paint along the bottom edge of the nail. This makes it harder for your nail polish to chip off.
  3. Always, Always, Always Use a Topcoat!: Okay, it's pretty obvious, but if you're like me and change your nails every week than you don't exactly need a topcoat unless you want it to be shiny:). But if you plan on keeping your manicure on for a while then definitely wear one! You could also put on a topcoat every other day and wrap the nail with it to really make sure it doesn't chip.
  4. Don't Be Harsh on Them: Again, another obvious one, but you still need to be reminded :). Some chemicals are bad for your nails and hands so try to wear gloves when you're cleaning with products. 
  5. Have Clean Nails Before You Start: Your hands produce a lot of oils so washing them and swiping polish remover over them before you paint helps the polish stick on to your nails more. Also use a base coat before you apply any colored polish.
  6. Make Sure Their Dry: Sometimes it might take a while to dry and when you think it is you touch it and mess up the whole nail!! So to make sure they do dry you could dip your nails in a glass of ice cold water for a minute or two. Also a thin coat of a fast drying topcoat works great! I've heard that you could spray PAM to instantly dry them, never tried it but if any of you do comment below and tell me how it worked!!
Hope these tips + tricks help you manicure last longer with no chipping!!
         Leave a comment if theres any ideas you want to see!!!!
             Bye Guys!!!<3

Saturday, August 11, 2012

See through polka-dots!!

  Hey guys! For my second post today I did these see through polka-dots! Here's how I do it!
      I used NYC French White Tip, L.A Colors base coat, China Glaze's Splish Splash, China Glaze's Flying Dragon (neon), and 3 different sized dotting tools.
     First, start off with a base coat to protect your nails from any staining. Then paint all of your nails blue.
     Use the bigger sized dotting tool to do about 5 white polka-dots around the tip of your nail. Use a smaller sized dotter and fill in some of the space with purple dots.
    Once they dry take a dotter and do blue in the white dots and white in the purple dots. Make them small enough to where you see like an outer edge of the white and purple circles.

     Make sure to put a top coat on to protect your nail design!:)
                         Leave A Comment If There's Any Nail Designs You Want To See!!!!!
Bye!!!<3

Best way to take off polish!


          Hey guys! I'm going to do two posts today! My first one is this REALLY easy trick to take off your nail polish in just one swipe!! I found this trick on Pinterest and love it!

All you need to do is unroll a cotton ball and rip it up into ten good sized pieces and fill up a small container like the cap of the polish remover and pour some in. Try to use non-acetone polish remover so it won't dry out your fingers as much.

Take a piece of a cotton ball and dip it into the remover. You don't need too much, just enough to cover your whole nail.
Once you have all your fingers covered, wait for at least 2 minutes to let the remover soak in then slide them off using a little bit of pressure. If you have sparkly nail polish on do the same thing but wrap pieces of tinfoil around your nails and keep it on for a little longer. The tinfoil helps so that the remover won't evaporate.
After sliding them all off you can use a q-tip dipped into remover and get any polish that didn't come off. I like to put lotion on afterwards so that my fingers don't get all dried out from the nail polish remover.


Thursday, August 9, 2012

Sharpie tye-dye Nails!

Hey Guys! I'd like to show you how to create these amazing nails with sharpies!

You need: -Sharpies    -White polish     -Clear top coat

Start off by painting your whole nail white..

Use the sharpies and put little dots in any pattern on your nail..

Finish up the dots..

Put a clear coat on, clean them up if needed and then you're done! :)