Hey guys! So this design is another one from Pinterest! There wasn't a tutorial, but I still figured it out:).
If you want to see the original picture go here - http://usegram.com/p/TUVWHzFkq2
I used:
-Claire's Cosmetics- Mean Green
-Maybelline Color Show- Coral Crush
-LA Colors White Striper
-Maybelline Express Finish- Black
-Dotting Tool
-LA Colors Black Striper (not pictured)
-Gold Sparkles (also not pictured)
Start off by painting all four of your fingers a turquoise/light blue color and your thumb coral or light pink. If you're using the Claire's "mean green" it;s easier if you put a thin white coat and then put two coats of the color.
 |
| Sorry it's a little blurry |
On your index finger make a circle, but don't close it all the way. Make sure the open end is facing your middle finger.
Ok, it's a little hard to explain, but make a diamond using your white striper and put more lines in between the points on the diamond? Confusing I know :/ Use your dotting tool to put a coral dot in the middle of the diamond.
On your middle finger make a full black circle. Try to line in up with the first circle.
In the middle of the black circle make a smaller, coral circle with white stripes all around them. On the bottom of the circle do 4 black lines and dots.
On your ring finger make 2 black lines all the way down your nail making sure they line up with the 2 outside lines on your middle finger. On the smaller 2 lines do a coral dot and white feathers.
And lastly, on your pinky do 2 more bigger white feathers somewhat in line with the long black lines.
On your thumb write out "Dream", but if that's too hard you could always just keep it coral. I also added these semi-big pieces of glitter that I just got from the Dollar Store yesterday:)
And here's what the dream catcher looks like all done!! I like this one!!
Any ideas? Comment Below!
Bye Guys!!!<3
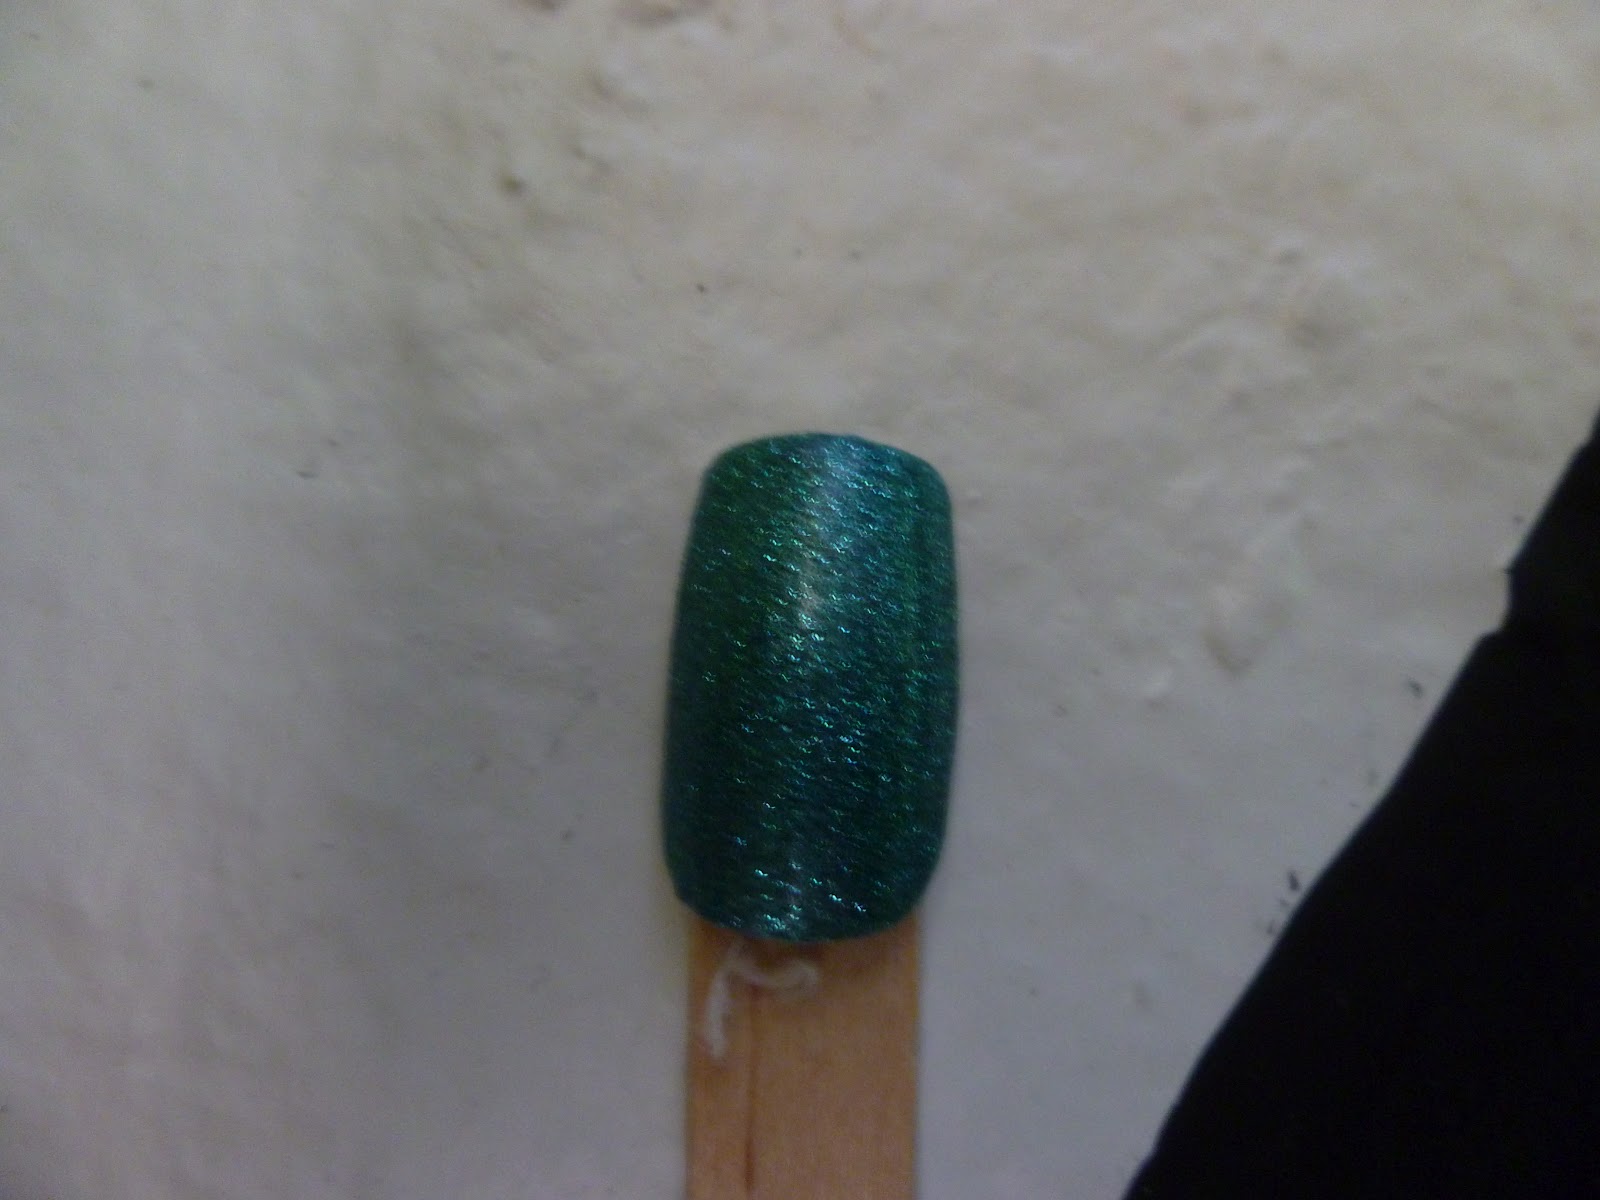
 Heres 2 coats of the color and a topcoat on. The polish comes out really smooth and it was easily spread.
 It was hard to get good lighting but you could see some of the blue sparkles.
 I put a matte topcoat on to see how it came out. It looked ok, but the pictures not the best and it looks way better shiny:).